Why Instagram Makes Your iPhone Photos Look Blurry (and How to Upload Them Sharp)
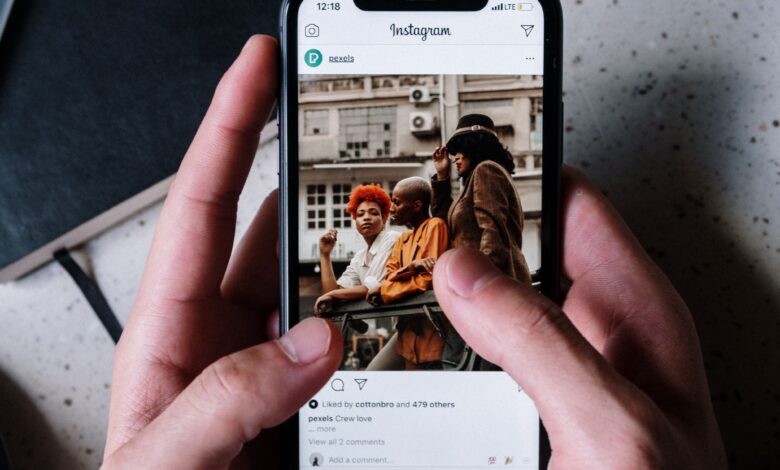
This guide explains the real reasons your photos lose quality and gives you a simple routine you can follow before every post.
What Actually Happens When You Upload a Photo
Instagram stores billions of images. To keep the app fast on slow connections, it resizes and recompresses almost everything people upload. Your photo is converted to a JPEG at a width of 1080 pixels (sometimes a little more), squeezed into one of the supported aspect ratios and saved with compression settings chosen by Instagram, not by you.
Think of it like a photocopy of a photocopy. The fewer times your image is squeezed, stretched and recompressed, the better it looks at the end.
Reason 1: The Size Is Wrong
This is the most common cause. When you upload a huge 48 megapixel image, Instagram has to shrink it to roughly one eighth of its width in a single step. Its resizing is built for speed, not beauty, so fine details like hair, text and fabric texture turn mushy.
The sizes that work best right now:
- Portrait 3:4:1080 x 1440 pixels. This matches the profile grid, which switched from squares to taller 3:4 tiles in early 2025, so nothing gets cropped on your grid.
- Portrait 4:5:1080 x 1350 pixels. Still widely used and safe for the feed.
- Square 1:1:1080 x 1080 pixels.
- Landscape 1.91:1:1080 x 566 pixels. Use it rarely, because it takes up the least space in the feed.
If you resize the photo yourself to exactly one of these sizes, Instagram has almost nothing left to do, and it will leave your image much closer to the original.
Reason 2: The Format Is Wrong
Since iOS 11, iPhones save photos in HEIC (High Efficiency Image Container) by default. HEIC is a clever format. It keeps about the same quality as JPEG at roughly half the file size, which is why Apple uses it.
- Uploading from a computer.If you post through Instagram on a laptop or through a scheduling tool, the HEIC file may be rejected, fail to show a preview or get converted twice.
- Editing in desktop apps.Many photo editors, design tools and templates cannot open HEIC properly, so people take a screenshot of the photo instead. A screenshot is lower resolution and loses the original data, which means your photo is already degraded before Instagram touches it.
- Sending photos to a friend or client for editing.Files shared from an iPhone to Windows or Android devices often arrive as HEIC and cannot be opened at all, so they get sent again through a messaging app that compresses them heavily.
The clean fix is to turn your HEIC files into high quality JPEGs yourself, once, before you start editing. If you work on a computer, you can convert HEIC to JPG online for free without creating an account. You can drop in up to five photos at a time, download them together as a ZIP file, and the converter keeps the full resolution and EXIF data while fixing the orientation automatically, so your pictures do not come out sideways.
Reason 3: HDR Is Getting Flattened
Recent iPhones capture HDR photos with extra brightness information. On an iPhone screen those highlights glow. When the image passes through editing apps, format changes and Instagram’s compression, that extra data is often thrown away or mapped differently, and the photo can end up looking washed out, grey or oddly contrasty.
Reason 4: Instagram Is Saving Your Data, Not Your Photo
Instagram has a setting that lets it upload lower quality versions when your connection is weak. If it is off, a photo posted on mobile data or weak WiFi may be sent at reduced quality and never replaced.
Settings, then Data usage and media quality, and switch on Upload at highest quality. It uses a bit more data, but it is the single easiest fix on this list. Try to post on a stable connection when you can.
Reason 5: Too Many Rounds of Compression
Every time a photo is saved as a JPEG, it loses a little detail. A typical journey looks like this: shot in HEIC, sent through a messaging app (compressed), screenshotted to get it into an editor (resolution lost), exported from the editor (compressed again), uploaded to Instagram (compressed once more).
The rule is simple: move photos as original files, never as screenshots or chat attachments, and export only once at the very end.
The Sharp Upload Routine (Save This)
Follow these steps in order and your posts will look noticeably cleaner:
- Shoot in good light.Instagram’s compression struggles most with dark, noisy photos. Daylight gives it clean detail to work with.
- Transfer the original file.Use AirDrop, a cable or iCloud, not a messaging app.
- Convert HEIC to JPG at full resolutionif you plan to edit on a computer or share the file with someone who is not on an iPhone.
- Edit once.Crop to 3:4 or 4:5, adjust light and color, and apply a light sharpening if your app allows it.
- Export at exactly 1080 pixels wide,for example 1080 x 1440, in sRGB color and high JPEG quality (around 80 to 90 percent), keeping the file under 8 MB.
- Turn on “Upload at highest quality”in Instagram settings.
- Post on a stable connection,and avoid editing the photo again inside Instagram with heavy filters.
A Quick Word About Your Grid
Sharp photos matter even more now that the profile grid shows taller 3:4 tiles. Visitors decide in a few seconds whether to follow you, and they judge your grid, your profile picture and your bio together. A great bio (this site has hundreds of ideas for one) deserves a feed that looks just as polished. Soft, blurry tiles make an account look less professional, even when the content is good.
Frequently Asked Questions
Why do my photos look fine in Stories but blurry in the feed? Stories use a different size (1080 x 1920) and are viewed full screen for a few seconds, so compression is less noticeable. Feed posts are studied more closely, and aspect ratio mismatches cause extra resizing.
Should I switch my iPhone camera to JPEG permanently? You can. Go to Settings, then Camera, then Formats, and choose Most Compatible. Your photos will be saved as JPEG from now on, but they will take up about twice as much storage. Many creators prefer to keep HEIC for storage and convert only the photos they want to post.
Does Instagram accept PNG files? Yes, but it converts them to JPEG anyway, so PNG gives you no real advantage for photos.
Why do my photos look sharp on my phone right after posting and blurry later? Right after posting, the app may show you the local copy from your phone. Once it loads the version stored on Instagram’s servers, you see the compressed result your followers see.
The Bottom Line
Instagram will always compress your photos, but you decide how much damage that does. Give the app a JPEG at the exact size it wants, keep your original files intact until the final export, and let it upload at the highest quality. Do that consistently and your iPhone photos will look on Instagram the way they looked when you took them.